Modular ovens – Installation guide
The installation plays a key role in the success of a traditional wood-burning oven. Alfa wants to simplify the assembling process by realizing prefab modules that combine in blocks. Few individual pieces that compose a great oven whose resistance is increased by an internal reinforcement that make the dome rock-solid. Undoubtedly, choosing the appropriate materials for insulating the professional oven is crucial.
The Refrax grey mortar is the best ally to give the oven the right elasticity to “breathe” and to allow the appropriate thermal expansion of all the elements. Last but not least, the easy-to-apply ceramic fibre guarantees an optimal thermal insulation of the oven. All that means that you will make less effort and save time in the installation and drying process of a product that will lasts for a lifetime.
Step 1
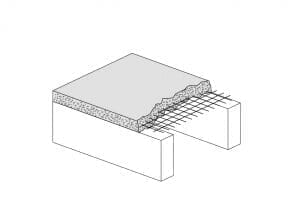
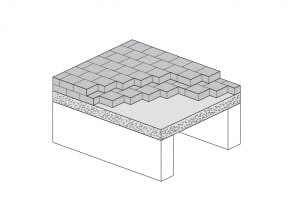
Create two supports in masonry about 75 cm high to get a fire floor about 110 cm high. Place a concrete load-bearing slab about 15 cm thick.
Step 2
Create a floor about 15 cm high with panels made of light cellular concrete or concrete lightened with expanded clay or vermiculite.
Step 3
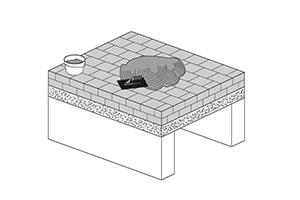
Place the sill of the exhaust fume and then the arch.
Step 4
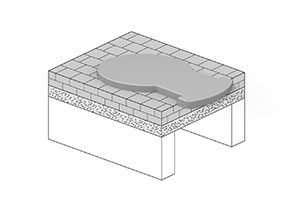
Lay floor pieces ( make sure to position them properly counting for thickness of the dome and insulation around the floor).
Step 5
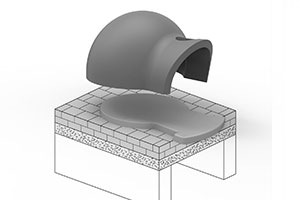
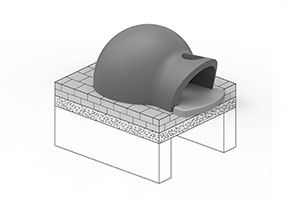
Set oven dome on top making sure it is centered over the floor. Gap between floor and dome should either be left empty or can be filled with clay mortar. No other mortar can be used to fill that joint as the filler must be soft enough to compress when floor expands.
Step 6
After mounting the dome make sure the pieces are fully settled.
Step 7
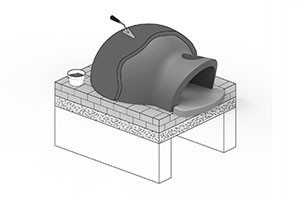
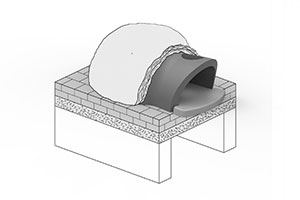
I recommend to always parge over insulation blanket to make a tight enclosure. That would prevent any smoke leakage should mini cracks ever develop.
Step 8
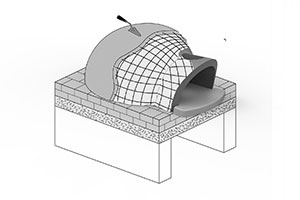
For this, wrap the insulation blanket loosely with chicken or similar wire and parge over with standard masonry cement mix with a bit of acrylic addmix or a bit of tile thinset mortar mixed in.
Step 9
Doing facing do not mortar bricks directly to the oven dome. Use some ceramic fiber blanket to provide space between facing brick and oven dome.
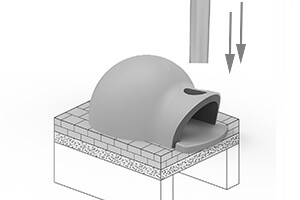
Step 10
Now you can proceed with the installation of the chimney.
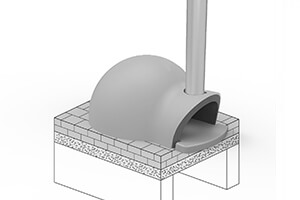
Step 11
Once positioned, you can fix it using high temperature silicone, then proceed to insulate it using ceramic fiber.
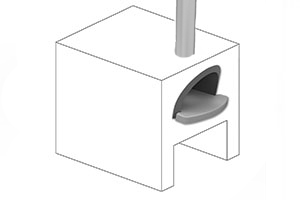
Step 12
Once faced with bricks and if there is space for extra insulation, one can use mineral wool insulation blanket or vermiculite over the parged oven.
How much ceramic fiber and mortar to use?
| INTERNAL DIAMETER | CERAMIC FIBER | MORTAR |
|---|---|---|
| 80 cm | 2 rolls | Kg 75 |
| 90 cm | 2,5 rolls | Kg 85 |
| 100 cm | 3 rolls | Kg 100 |
| 110 cm | 4 rolls | Kg 135 |
| 120 cm | 4,5 rolls | Kg 150 |
| 130 cm | 5 rolls | Kg 170 |
| 140 cm | 6 rolls | Kg 200 |
| 160 cm | 6,5 rolls | Kg 230 |
| 180 cm | 9 rolls | Kg 320 |

