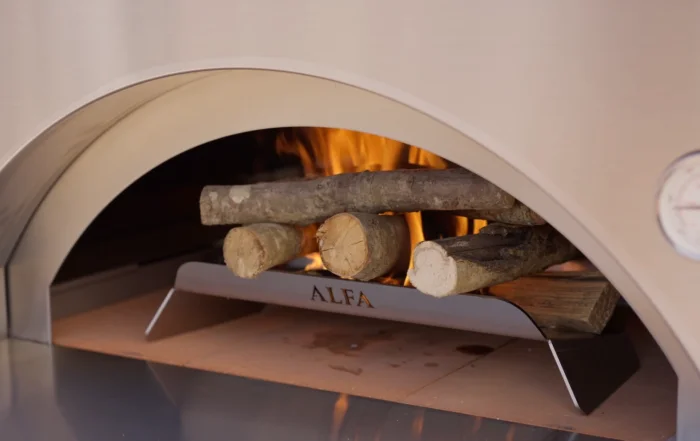
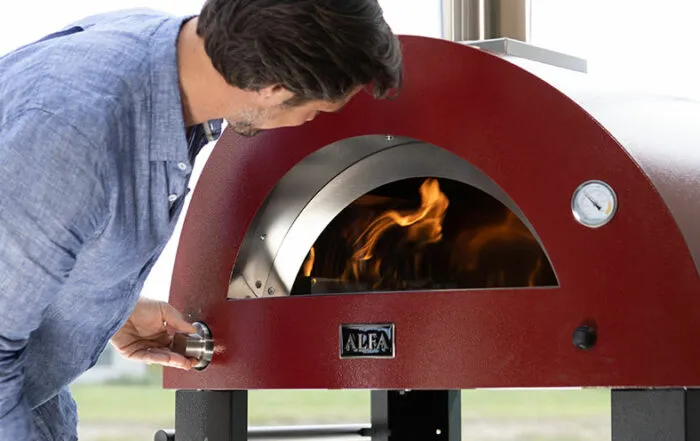
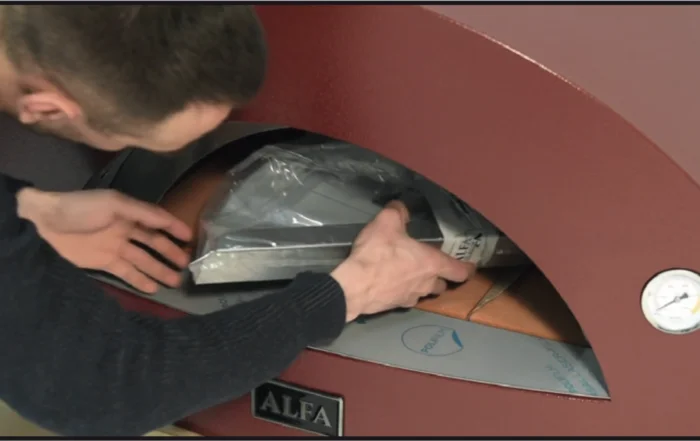
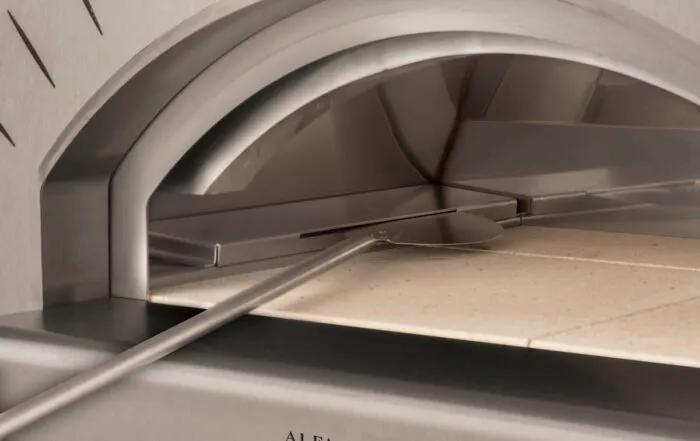
\n \n2 \u2013 Light the QwikWik firestarters to ignite your initial cross stacked wood pile in the oven \n \n \n3 \u2013 After the wood is on fire, replace the oven door on the oven warming shelf leaving a small gap of 1-2 inches so air can enter the oven and to help keep the fire roaring. This helps keep the fire in the oven and heat the oven to your desired temperature faster. \n \n \n4 \u2013 Slowly add larger wood logs to create a larger fire. Do this for about 15-20 minutes depending on the size of your oven. Larger ovens can take longer to heat up. Do not put too much wood in at one time and replace the door as noted in section 3 to help keep the flame inside the oven. \n \n \n5 \u2013 After you\u2019ve built a nice fire and hot bed of coals move them to the left side of the oven with the help of the ember mover. The fire should be on the opposite side of the thermometer for the most accurate oven chamber temp. \n \n \n6 \u2013 Clean the refractory floor with the brush tool. \n \n \n7 \u2013 Using a laser thermometer check the temperature of the oven floor. You want it to be about 370\u00b0- 430\u00b0C (700\u00b0- 800\u00b0F). \n \n \n8 \u2013 When the oven floor is the right temperature you\u2019re ready to begin cooking your pizzas! Cook pizzas with the oven door off and feel free to replace the oven door with the same gap for air as mentioned in section 3 to keep heat and flame in the oven.","uploadDate":"2023-04-18 10:26:29","thumbnailUrl":"https://www.alfaforni.com/wp-content/uploads/2024/10/lighting-wood-fired-pizza-ovens-5.jpg","embedUrl":"https://player.vimeo.com/video/818758307?h=6e5ebd0e10&color=ffffff&byline=0&portrait=0","duration":"PT57S","width":"3840","height":"2160","isFamilyFriendly":"True","@id":"https://www.alfaforni.com/es/tutorial/#schema-610987","isPartOf":{"@id":"https://www.alfaforni.com/es/tutorial/#webpage"},"publisher":{"@id":"https://www.alfaforni.com/es/#organization/"},"inLanguage":"es","mainEntityOfPage":{"@id":"https://www.alfaforni.com/es/tutorial/#webpage"}},{"@type":"VideoObject","name":"CONVERSION LPG/NG - NORTH AMERICA","description":"WARNING: The conversion must be performed by qualified technicians when the oven has completely cooled down. Improper installation, adjustment or maintenance can cause property damage or personal injury. \n \nONLY USE THE COMPONENTS AND PARTS SUPPLIED BY ALFA FORNI. \nThe oven is supplied with LPG or natural gas. Follow the instruction for the conversion. The LPG bottle is not included.","uploadDate":"2023-02-08 02:55:10","thumbnailUrl":"https://www.alfaforni.com/wp-content/uploads/2024/10/conversion-lpg-ng-north-america-6.jpg","embedUrl":"https://player.vimeo.com/video/796906417?h=30f4a5c45b&color=ffffff&title=0&byline=0&portrait=0","duration":"PT199S","width":"1920","height":"1080","isFamilyFriendly":"True","@id":"https://www.alfaforni.com/es/tutorial/#schema-610988","isPartOf":{"@id":"https://www.alfaforni.com/es/tutorial/#webpage"},"publisher":{"@id":"https://www.alfaforni.com/es/#organization/"},"inLanguage":"es","mainEntityOfPage":{"@id":"https://www.alfaforni.com/es/tutorial/#webpage"}},{"@type":"VideoObject","name":"ALFA ovens unpacking - How to assemble a Forninox.","description":"FIND OUT HOW EASY IT IS TO UNPACK AN ALFA OVEN. \n \n- Inside the oven, you will find: door, flue, chimney cap, and feet. \n- Fix the 4 feet to the corners of the oven and screw the handles on to the door and on to the pizza peel. \n- For gas-fired models, put the knob to the left of the front panel and screw in the button with the battery on the right side. \n- Place the flue up into the hole and top with the chimney cap.","uploadDate":"2021-04-22 06:43:59","thumbnailUrl":"https://www.alfaforni.com/wp-content/uploads/2024/10/alfa-ovens-unpacking-how-to-asse-5.jpg","embedUrl":"https://player.vimeo.com/video/540090312?h=15d13969e7&color=ffffff&title=0&byline=0&portrait=0","duration":"PT91S","width":"1920","height":"1080","isFamilyFriendly":"True","@id":"https://www.alfaforni.com/es/tutorial/#schema-610989","isPartOf":{"@id":"https://www.alfaforni.com/es/tutorial/#webpage"},"publisher":{"@id":"https://www.alfaforni.com/es/#organization/"},"inLanguage":"es","mainEntityOfPage":{"@id":"https://www.alfaforni.com/es/tutorial/#webpage"}}]}
¡Desplázate hacia abajo por la página para descubrir los videotutoriales que hemos publicado para ti!
Consejos útiles para hacer tus recetas y aprovechar al máximo el horno Alfa. Nuestros expertos te explicarán paso a paso como cocinar más eficazmente y como usar el horno correctamente.